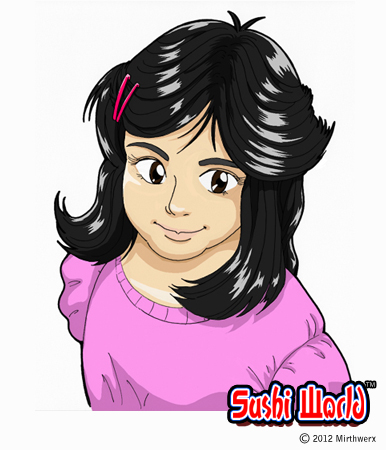
A Sushi restaurant game cant exist without Sushi loving customers come in to challenge your Sushi making skills. Sushi World’s stage is set in many different countries around the globe, and I need to come up with lots of different customers for each stage. In this post I am going to show step by step how I design them.
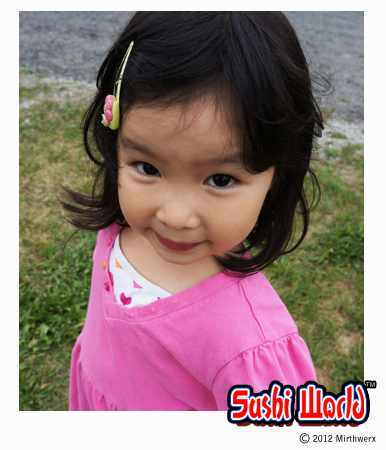
First of all, finding a good model is the key, you need lots of different faces, races, ages, professions… the more divers the better, think of casting for a movie, you need faces with different characteristics, in our case it also need to represent the country.
In this post, i am using my daughter as the example and she will be one of the customer in the China stage. (dont worry i asked her and have her permission before i post her picture :))
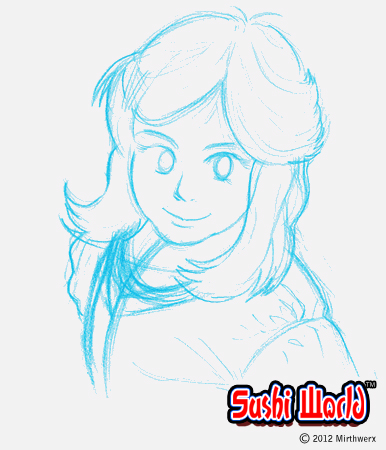
Once we are happy with our model, is time to put it on the drawing paper; I usually would take some creative licence to exaggerate from the photo to achieve the cartoon look. After all, Sushi World’s art style is very colorful, playful not super realistic. So after few mints i got my rough drawing down. (see below)
I did my modification at this stage until I am happy with the drawing, then onto the inking stage (yes, ink, I do came from comic industry background, is the old hobbit I can’t shake off :P) I inked it with 1.0 black ink pen first, then ink the outline with 3.0 pen.
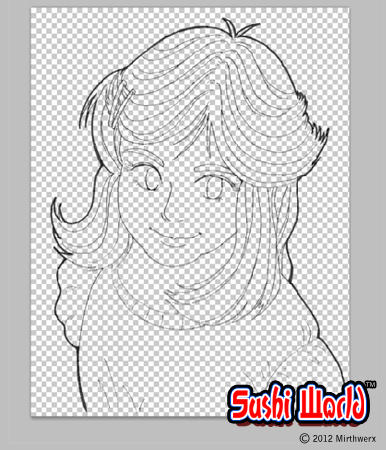
wait till the ink is dry, then took a white eraser lightly erase the blue rough lines. If you cant get them all off, don’t worry the reason of using blue pencil is that B/W scanner and copier wont pick up blues. So, now the picture is scanned and imported into Photoshop.
In Photoshop, you need to delete the white background and you will be left with only the bold black lines, there are many different ways to achieve that effect; for me I like to use the option under the “Channels” tab method. After you get rid of the white background, save it as the line layer, then create another layer below it and start coloring. 🙂
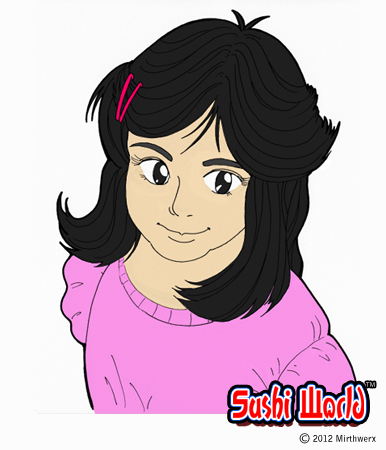
Block out each area with Lasso tool(*make sure take off Anti-alias) and color in the base color first, and adjust or paint bucket the color till you are happy with it.
Finally add another layer for your high-lights and shadows and you are done! 🙂
Hope you enjoy this post as much as I did, thank you for reading, and happy gaming 🙂


